Walls and ceilings look like a canvas when they’re covered in fresh plaster; but you have to be prepared before you start dipping the paint brush.
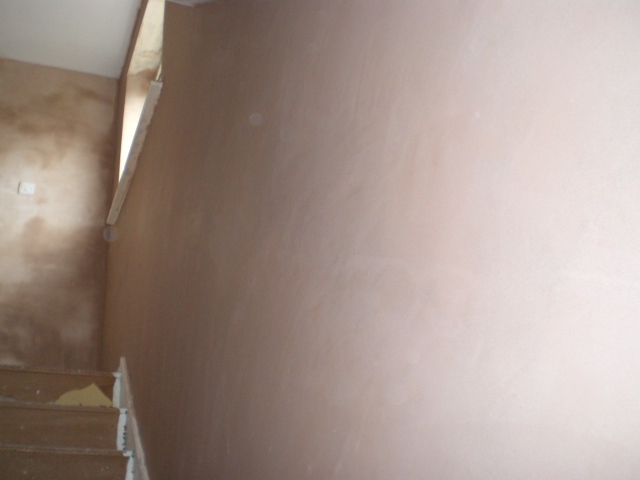
No matter what, it is highly advisable to wait at least a week before painting your newly plastered walls. In some cases it can even take up to a month for plaster to completely dry out. Before any painting commences, ensure that you have a uniform light colour; this is an indicator that the plaster has dried evenly. If you want a perfect finish, avoid painting if there are any dark patches on the plaster.
5 things you need to know
Seal it
You need to seal the plaster to make it less absorbent, and to help the topcoat adhere better. A commonly used method is to seal it with watered-down emulsion (known in the business as a mist coat). White emulsion is usually used, add in roughly 50% water to the paint and mix thoroughly. Apply the water-down paint using a brush for the edges, and a roller for everywhere else
Using watered-down emulsion
Watered-down emulsion is a messy medium to work with as it drips much more than standard emulsion. Be aware when painting, to wipe, roller or brush-out drips immediately to avoid a bad finish. You need to be observant and on-the-ball with this as the paint dries quickly due to the plaster’s absorbency.
White topcoat – friend or foe?
If you’re leaning towards a white topcoat, you’re better off using a watered-down white emulsion for the mist coat. Otherwise you could end up doing a lot more coats of topcoat than you need to. White topcoat can take a few coats to cover certain patches of plaster. To overcome this little hurdle you can use a stain block or a basecoat emulsion on those patches.
Specialist paints
Paints that have been specially formulated to be applied directly to new plaster are available in a selection of good home improvement shops. Although there is an added expense with using one of these instead of watered-down emulsion; they’re much nicer to use as they don’t drip everywhere and some can allow the plaster to continue breathing and drying even when the paint has been applied – but that much sought after perfect finish can be harder to achieve.
Dealing with the dreaded damp
Unfortunately, plastering isn’t always perfect. Sometimes patches of plaster don’t dry out properly because of damp. The usual way to deal with this inconvenience is to remove the plaster, all the way back to the brickwork and get your contractor to do a special waterproof render prior to re-plastering. This should eliminate any moisture in the brickwork from affecting the plaster in future. There are some quick fixes than can be used, such as; applying damp paint/seal to the patches and then painting or cladding the wall. Although, dealing with the main cause of the damp is always advisable, as it may come through again once the quick fixes start to fail.
If you follow these helpful hints, your newly painted plastered walls will turn out great.

